February 29, 2012

if I were making a 1911 dress


It would be this.

© Metropolitan Museum of Art, accession number WW.523

This illustration was made by Mela Koehler, if you would like to see more of her work click here. I believe the fabric used for the dress was designed by Koloman Moser. Evening gowns are pretty, but the simple lines and bold prints of the Weiner Werkstätte trump lace and beads for me. Is anyone going to be wearing their sew along corset under a simple day dress? With or with out a giant hat like the one shown here?

February 28, 2012

1911 - all the steps in one place


Thank you everyone who participated in the 1911 corset sew along! I couldn't have done this without you! Your input not only helped me with my own design questions, but more importantly served as a guide for instructions needed and also forced me to be organized. I'm still putting the final touches on my corset and will have photos soon. Yea! I thought I'd put links to all the steps in one place for future corset sewing.


supplies needed
sizing the pattern to fit your measurements, more here and also here too
adding length if needed
flat felled seam construction
sewing gores for the Norah Waugh's 1911 pattern
patterning front facing
patterning back facing
busk, loop and stud sides

Here is a link to the flickr 1911 corset sew along group page where you can see images of the corsets in progress and finished work. Well done sewers along! I hope you've had as much fun making your corsets as I have!

February 27, 2012

1911 - lacing, and perfectionism rears its ugly head


I can not tell a lie. My corset is not finished. I know! I should be done, right? I'll go into the lame explanation as to why it's not done in a moment, but first I should go over how I'm lacing this corset for those who have stayed on schedule.

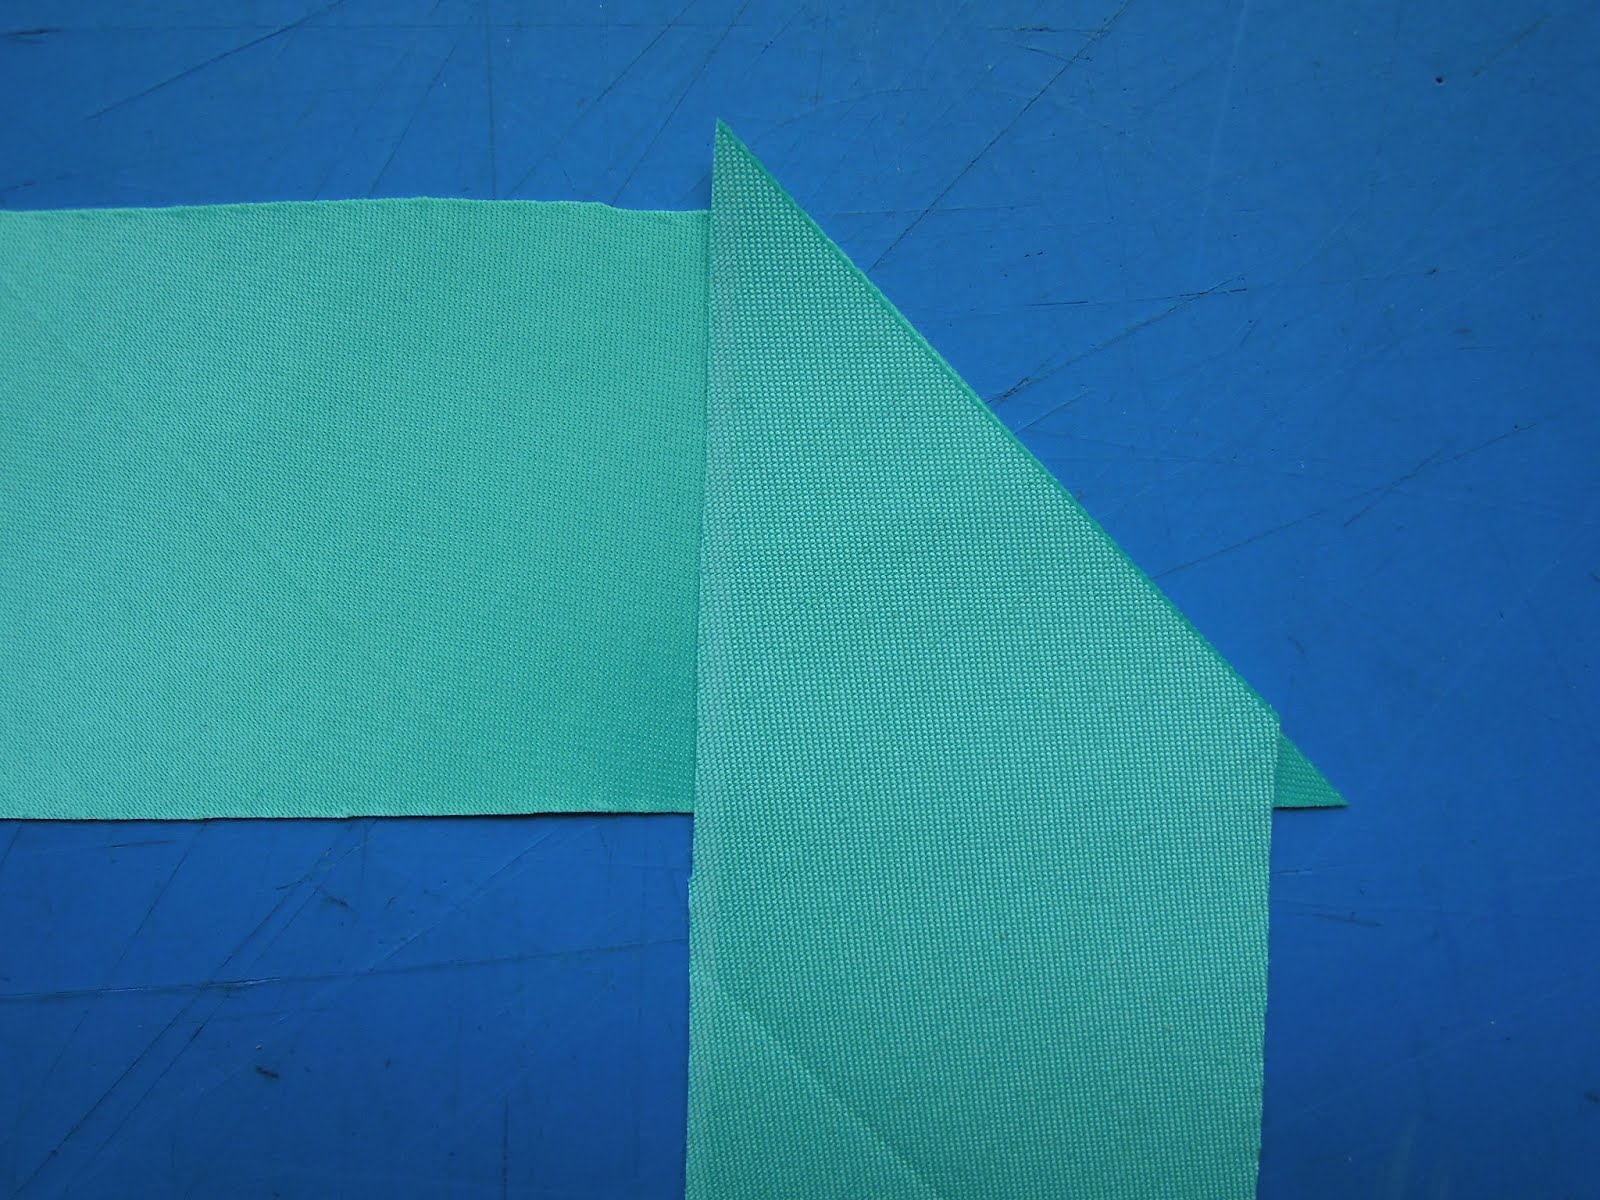
Before I start threading the lace through the grommets is tie a small slip knot in the center on the lace. That way I can't accidentally pull the laces through with one side way longer than the other. Once the corset is laced I just undo the knot. Easy. I bring the lace through from back to front, or from the interior to the exterior, of the corset.


When I reach the waist I skip one grommet.


The loop is made by threading the lace on the open grommet above on the same side, then crossing to the grommet below the threaded one on the opposite side.


The loop on the other side is made the same way.


Then I continue lacing back and forth to the bottom of the corset.


The ends are tied together in a bow. Making the loops at the waist with the extra cross keeps them from slipping when you are putting the corset on. The extra cross isn't necessary, it just helps.

So now on to why my corset isn't finished. I'm still having issues with the top edge. I bought lace and ribbon and spent Saturday morning dying both. The lace was originally so white it glared against the fabric, and of corse there was no ribbon to be found that was the same color as the garters and trim on the bottom. So I bound the edge with black bias and pinned the lace in place. Maybe, OK, obviously, I'm over thinking it, but the lace isn't quite right. It's too sugary for my taste.


You can see I pinned ribbon over to get an idea of what it would look like if I bound the edge with aqua bias and left just some of the lace showing. But I'm still not sold. It competes too much with the print of the fabric. Here it is with only plain ribbon to mimic the aqua bias.


That is my favorite. Of course by time I finally arrived at this point the Oscars were ready to air and I had to watch. But I've made the correct decision, right?

February 24, 2012

1911 - flossing diagram


Before I dash off to purchase better thread for flossing I thought I'd share the stitching diagram.


The needle comes out from the interior to the exterior of the corset on hole number 1, and goes back in on hole 2, out at 3, in at 4, and so on. Stitching in this order allows the thread to show on the front of the corset, but only small stitches will be visible on the interior of the corset. I may round the bottom of the arrows instead of keeping the straight line, and I may need eight stitches across instead of seven, but you get the idea.

Week eight of the sew along is done! I'll finish the flossing this weekend and lace the corset on Monday. Sew along participants who feel like they are off schedule can catch up this weekend too, and please do share images of your finished work on flickr group page. It is so exciting watching the progress of everyone's corsets, I can't wait to see more as they are completed!

February 23, 2012

1911 - functional and decorative


Flossing not only keeps the boning snug in it's channel, it's pretty too. Yea. By the nineteen teens the era of elaborate flossing had waned, but that's no reason you can't go crazy and add ornate embroidery to your sew along corset. Just grab and embroidery needle and thread. The thread can be silk, or a few strands of embroidery floss, or button hole twist like I used on the black sample below.


The aqau is the same thread I used to sew the bias trim and garters and it's a bit spindly, but good enough for a color test. Let's get a better idea of how it would look on the corset.


Aqua, right? The black creates a triangular hole on the corset and is also too geometric against the organic print. The aqua is airier and picks up the color of the bias but doesn't compete with the flower on the print. Who's with me? Aqua!

February 22, 2012

1911 - garter placement


Thanks so much for the input regarding the trim on the top edge of my corset. It's going. And I'll definitely add a bow. Or two. While I rework the trim I thought I'd show where the garters are placed. The placement is marked on the post Edwardian pattern, but not on the Corsets and Crinolines one.


Three garters on each side, the first is right at the center front, the second is at the side, and the third lines up with the bone casing on the last panel. Of course one could add more, or less, and you don't really need to mark them on the pattern, but once you do you don't ever have to think about it again.

Flossing tomorrow!

February 21, 2012

1911 - trim crisis


I think I've gone too far. Or not far enough. I don't know. Here's the top edge of my corset.


The trim is wide, 3 inches, and it eats up a lot of space. I fear I've visually chopped the the top off and when I wear it will look like a high waisted mini skirt. I only sewed on one half and I'm debating removing it and replacing it with the same aqua bias trim used for the bottom edge. Or maybe I should just push it further and add something more, like a bow.


Those bows looks like fireworks, or a chrysanthemum, or a cherry blossom. I don't normally put bows on the corsets, they just seem like something that will either break a smooth line, or get crushed, or both. But this corset feels like a folly with the bold black and white pattern and cheerful blue trim. The wide pleated eyelet at the top is already a little more than was needed, why not go all the way and add something purely decorative? I leave it to you, readers. Take the trim off and replace it with the blue bias, or add a giant bow? What do you think?

February 20, 2012

1911 - finishing the top edge


The final week of the sew along is here! Just a bit of finishing and the corsets will be done and ready to wear. What point are fellow sew along participants at in the process? The first finished corset has been posted on the group flickr page
and it's lovely, I can't wait to see more! I need to get to work so I can add mine to the bunch!

The trim on the top edge of the corset serves the same purpose as the trim on the bottom, but it can be fancier if you like. I decided to use an inexpensive, machine made, broderie anglaise. It is applied similarly to the bias used for the bottom edge, stitched on then folded over, except it is stitched to the interior of the corset,


and flipped over to the front.


The longer trim has to be gathered and distributed so it flows nicely across the corset.


Then it can stitched in place by hand. Mine is not yet stitched in place. I think we all know what I'll be doing on my lunch break today.

February 17, 2012

concerning cheese


Isn't that the best headline ever? I read it while doing research in the February 18, 1912 edition of The Washington Herald for what was supposed to be tomorrow's post.


Two misses wearing simple 1912 workday attire, enjoying a tasty meal of cheese fondue. If you read Marion Harland's column you'll find a couple recipes for Welsh Rabbit Without Beer, which must be the saddest rarebit of them all. Concerning Cheese was just a page or two after the latest Paris Fashions.


The materials in two of the dresses are described as " Salmon Pink Liberty," and "Blue Liberty Satin." I believe that is Liberty as in Liberty of London. I want an excuse to wear the evening wrap shown in the center. Too bad I won't be performing any arias on stage soon.

So why cheese and gowns? I'm still attaching garters and haven't started adding the trim to the top edge yet. Yikes. For any of you who are a bit off the sew along schedule don't fret, just keep sewing. I'm still sewing right along with you! Next week we'll finish the last details on the corsets, including trimming the top edge. Almost done!

February 16, 2012

1911 - attaching garters


Pretty covered garters don't just attach themselves to corsets. I wish they did. It's always possible to just place them against the corset and sew across with a machine, but I didn't want that extra line of stitches on the trim. I know, I'm crazy, there is nothing wrong with a neat little line of functional stitches. Still, I researched other solutions, and stumbled across this.

Kent State University Museum, accession number 1983.1.1500

Ah ha! The stitching is invisible from the front, and if the elastic stretches out, or a grip breaks, the garters are easily removable. Perfect. I folded the raw edge under and pinned the garter to the interior of the corset, making sure the adjustable clip and grip faced in the right direction.


Then I hand stitched across in one direction,


and went back in the other.


There were a lot of layers to push the needle and thread through, it helped to push it first through the corset and trim, then through the garter. When the garter was secure I tied the thread off. Here it is from the back.


And from the front.


If you are participating in the sew along you may want to attach garters after the top edge has been finished just so they aren't flopping around and clattering while the trim on top is being sewn. I would have done it that way had I decided how to trim the top, but there are so many possibilities to choose from. Same thin aqua binding as the bottom edge, or a wider satin trim? Lace? Lace beaded with aqua ribbon? Too many options!

February 15, 2012

1911 - garter building


Garters make a corset more fun. I've decided to make the garters on this corset extra festive and cover them with aqua satin to match the bias trim. Covering the elastic is the same process no matter what width of garter hardware you are working with, you just make a tube of fabric that's cut longer than the elastic and slip the elastic inside. For these garters the covering is 11 inches long and the elastic is 7 inches, so it ruffles up but is not too bulky.

I often use bias trim to cover garters, just lay two 2 inch wide pieces together and stitch the length on both sides. The example is on the left in the photo below. For this corset I'm using pre-made satin binding because it was the only thing in all of JoAnn Fabrics that was the right shade of blue. It's silly to cut it the binding half and sew seams on both sides, so the satin is folded in half with a seam on one side. The example is in the center below. The end result for either technique is the same, a tube as wide as the garter hardware.


Of course the seam allowance should be pressed open. I have a wooden spoon that is only used to press seam allowances on tubes of fabric. It's the perfect tool for the job.


Trim the seam allowance to 1/8 inch and pull the tube right side out. Depending on how slippery your fabric is this may involve some swearing. Then press again. The elastic doesn't need to be as wide as the fabric covering it. I'm using 1 inch wide elastic and the fabric tube cover is 1 1/2 inches wide, so I sewed 1/4 inch from each side leaving just enough space for the elastic in the center. Pull the elastic through the tube and sew together at one end.


Bunch the covering up and trim the elastic to 7 inches. Don't cut a 7 inch piece of elastic first then slide it into the covering. Fishing out the short end is tedious. I know because I've done it. After you've trimmed the elastic secure it to the fabric at the other end.


Here's the covered elastic next to the tool used to pull it through, and also used for turning fabric tubes right side out. It makes those tasks much quicker than pushing things with a pencil or grasping with pliers.


The steps for assembling the garter hardware to the elastic are here. I couldn't write them any better a second time. Below is a partially constructed garter and a finished one.


How many of you sewing along are covering your garters?

February 14, 2012

1911 - inserting boning and disaster averted


Look at this.


A pin! Sewn into the corset! Argh! I discovered it when the 1/2 inch bone came to an abrupt halt as I inserted it in the channel. Fortunately I was able to wiggle it free and inch it up the channel. Whew. Learn a lesson from me and be on the look out for rogue pins.

Time to insert boning. Here are mine ready to be slipped in place.


For the Corsets and Crinolines pattern, working from the busk to the lacing, you'll insert two 1/4 inch wide, 9 inch long bones in the first casing. Two 1/4 inch wide, 9 inch long bones also go in the second casing. One 1/2 inch wide, 10 inch long bone goes into the third casing. The 1/4 wide, 16 1/2 inch long bones will go into the fourth casing and on either side of the eyelets.

If you are working with the post Edwardian pattern you'll insert two 1/4 inch wide, 9 inch long bones in the first, second, and third casings. Then one 1/2 inch wide, 10 inch long bone goes into the fourth casing. The 1/4 inch wide, 16 1/2 inch long bones will go into the fifth casing and on either side of the eyelets.

Tomorrow we finish the top edge. Is anyone else excited? The corsets are almost finished!

February 13, 2012

1911 - finishing bottom edge


Wow. Week seven of the sew along. Just a bit of finishing and our corsets will be complete, right on schedule. Yea. Today we'll finalize the shaping of the top and bottom edges, and sew the trim to the bottom. Thanks for the input regarding trim colors for my corset. I decided to go with the aqua. The red did seem more predictable, and I've already gone crazy with the Liberty print, why get predictable now? So, let's not dilly dally, to the sewing machine!

Throw some laces through those newly set grommets and try the corset on. If you want to change the shape of the top or bottom edges neatly draw the desired line with chalk, or you can use artist's tape, to mark the top and bottom edges. Once you've determined the shape cut the excess off. To make certain both halves are the same I cut one side, lay it on top of the other, face to face, mark the other side, then cut.


Then finish the bottom of the corset by placing 2 inch wide bias trim next to the edge, face to face, and stitch the trim anywhere from 1/4 to 1/2 inch from the edge. I sewed mine 3/8 of an inch from the edge.


Fold the bias over the allowance and press.


Wrap the bias trim over the edge of the corset, folding the raw edge of the trim under.


Sew 1/16 from the original seam.


Here is the trim from the exterior of the corset, and the interior.


The ends can either be tucked in, or just cut off. Leaving them raw is perfectly period! Here are the edges on the original post Edwardian I used to make the pattern.


It took a lot of wear to fray the raw edge to that point. Will your corset get that much wear? If not and you don't feel like fiddling with folding trim go ahead and cut it off. I'm think of living dangerously myself and not tucking the ends when I sew the trim on top. Tomorrow we'll insert the boning!

February 11, 2012

more hoopla


There's a Hoopla giveaway at Feeling Stitchy!


I made the cross stitch cuckoo clock seen in the book and was so happy to see it mentioned, along with other cool embroidery projects, at Feeling Stitchy. Yea! If you'd like to win a copy of the book run over and comment, but do so soon. Entries close tomorrow night!

February 10, 2012

1911 - whoops, forgot to make bias trim


Today's post was supposed to be about shaping the top and bottom edges and applying trim. Since I hadn't finished making bias trim that was impossible. Also, I haven't finished setting grommets. Yikes! I really am sewing along with everyone. While many of you will be pounding grommets this weekend, so will I. So, we'll finish this week with a quick lesson on sewing together bias strips to make a longer length of trim. Sometimes it's just not possible to cut bias strips the required length, additionally, you will waste less fabric if you assemble pieces cut from smaller left over bits than cut a large, diagonal swath through your fabric. Once you learn how to piece bias strips together you can trim your garment with anything you please instead of being bound to what is available prepackaged. The world is yours!

Start by laying the edges of two bias strips together, face to face, with the corners overlapping 1/4 inch.


Sew the pieces together, stitching 1/4 inch from the edge of the fabric.


Press the allowance open.


Trim the allowance to 1/8 inch, trim the corners, and you're done.


I think this aqua is a fresher choice than the red I originally planned on using. What do you think? Aqua? Red? Aqua? Red? Has everyone definitively chosen trim or was it just me who hadn't committed?

February 9, 2012

1911 - it's grommet time


The corset is coming together! Once the grommets are set we can try it on and fine tune the shape the top and bottom edges. So let's get those grommets set!

You'll need the center back pattern piece, scissors or an awl or a notcher, pencil or chalk, and a ruler. If you are using the post Edwardian pattern the grommet spacing is marked on at the back pattern piece. If you are using the Corsets and Crinolines pattern the spacing needs to be finalized. The holes on the pattern are spaced 7/8 inches apart. The waist will be centered between holes so mark the waist at the center back, it should be the top notch mark. Make a mark 7/16 above and 7/16 below the waist, then mark points every 7/8 inches in both direction the length of the center back.


The pink dots are the new marks for the lacing. Cut small holes on the marks. I circled mine in red so they are easy to see.


Place the pattern on the center back edge of the corset and transfer the marks to the fabric with chalk or a pencil.


Hooray, the corset is ready for grommets. Have fun setting!