

"The right kind of corset allows you to sit down comfortably." I couldn't have put it any better. The fabric may skirt the thighs, and the wearer may even sit on the fabric, but the bones do not poke into the chair seat. Because the center back of the Corsets and Crinolines pattern is roughly 2 inches shorter than the post Edwardian pattern we added length to the center back. How did the added length work? If you are tall it may have worked perfectly, if you are like me it was too much. Or rather, the boning at the center back was too long but I liked the length at the hips. We can't have boning hitting seating so we'll adjust the center back length first, the rest of the extra length can be dealt with later. Today you'll need the usual drafting tools, paper, tape, pencil, ruler, hip curve, and scissors or an exato knife.
I marked the bottom of the corset just a couple fingers above the seat of a chair when I was fitting the mock-up I know where the bones must end.

The mark was about 2 inches from the bottom of the mock-up. We have 16 1/2 inch bones so I must add length at the top of the corset so I can use them. I transferred than mark to the pattern then measured up 17 inches.

This adds almost 2 inches to the top at the center back of the corset. I don't need that 2 extra inches all the way around the top, just at the lacing, so I'm going to draft a nice curve down so it meets the top edge at the side of the body. First add the 1 inch that was added when the pattern was traced to fabric, then draft any alterations that were.
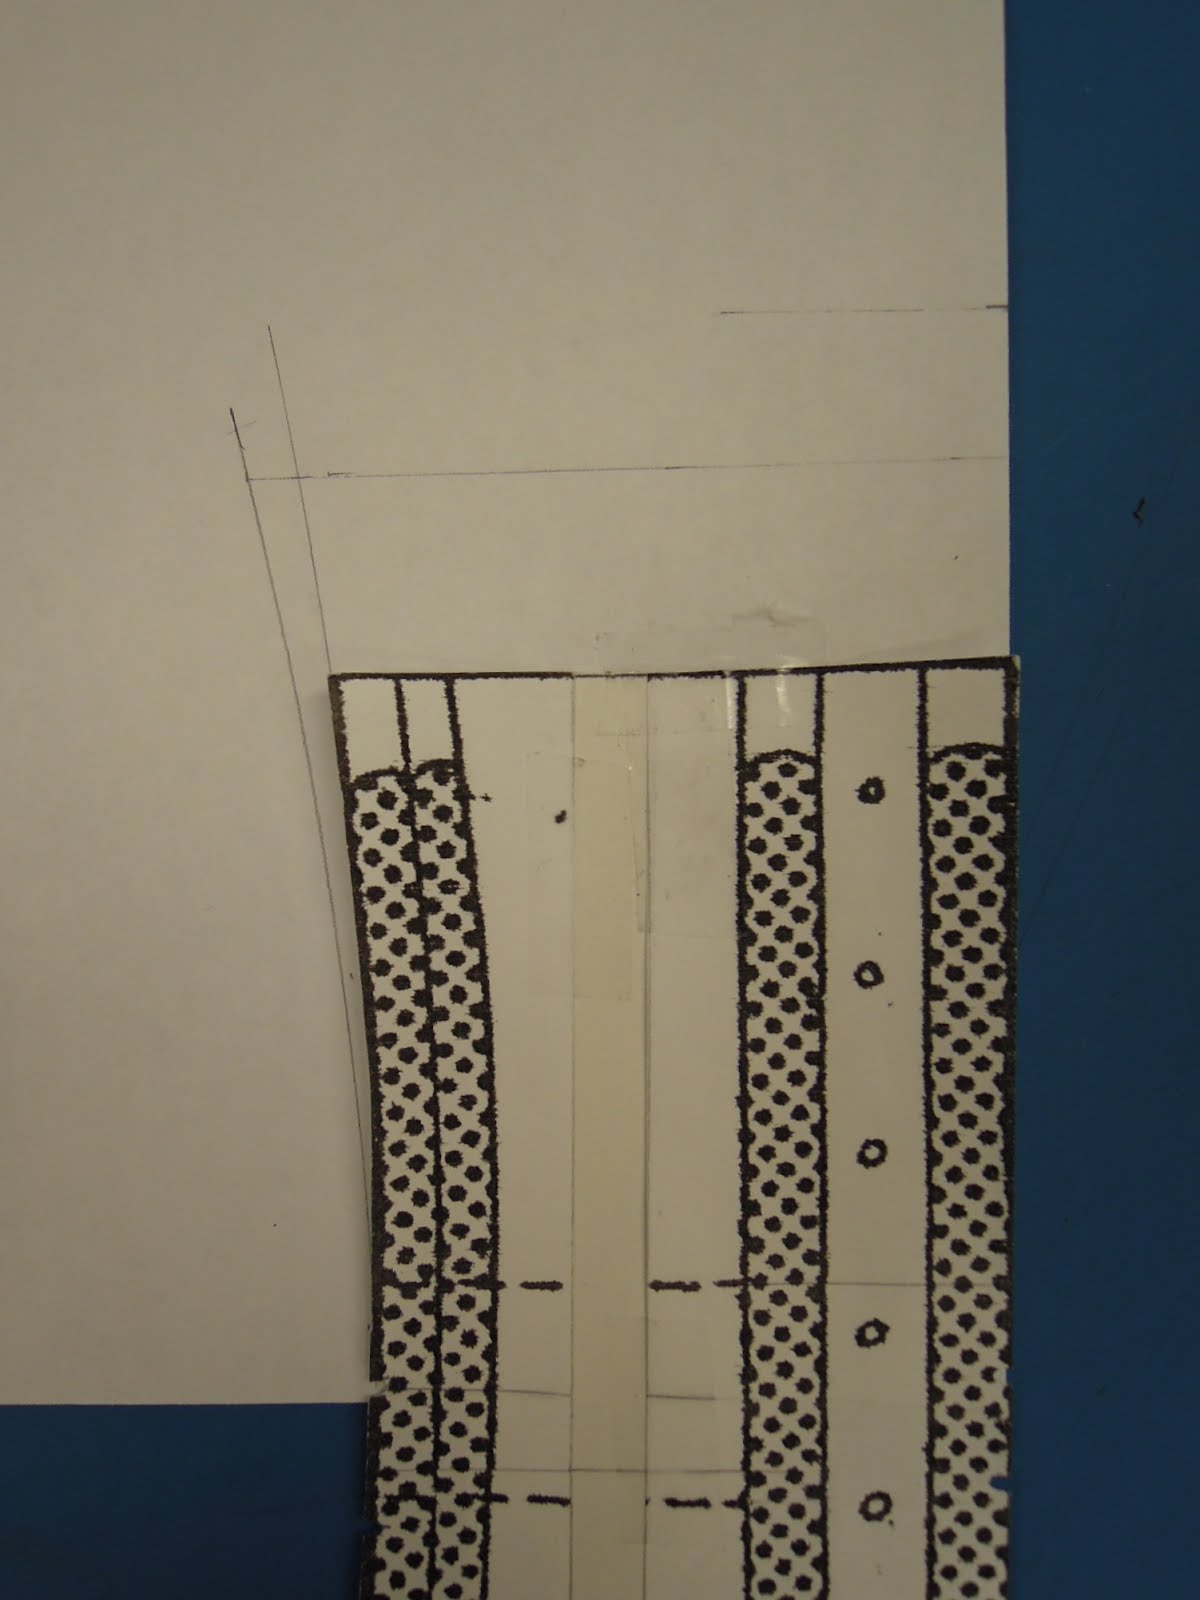
See that line about 3/4 inches above the other pencil lines? Since the bones on both sides on the grommets are equal lengths you need a line straight across the lacing section. Then using the hip curve draw a nice smooth line to the next piece.

You can see I continued the curve a bit into the next piece.

I'm not terribly worried about getting this curve perfect, I can fine tune the shape before finishing the top edge. Of course it's also possible to cut the boning to the length needed, but suppose you don't have tin snips? Plus I'm using the same pre-cut lengths as many of you out there, and I want them to work for all of us. We need at least 17 inches to squeeze those bones in. If there is a bit more, fine. But there can be no less.
Other than the center back, I was happy with the length of my corset. Extra fabric beneath the boning is not an issue. I don't want it too long though, so I'm leaving an inch below the end of the boning. I just drafted a curve to the edge of the pattern piece and called it a day.

Like the top edge, I can decide on the bottom edge later. Once I pattern something and cut fabric I can't go back and add length. Better to trim fabric later. If you know without a doubt that you do not need the extra length, then you can remove it from the pattern now. I want to keep my options open.
Figuring these alterations can be the the trickiest part of making a coset. Once this step is over we can pattern the facings and then it's on to the real corset!


Although I have not tackled this project I have been following along and just wanted to mention to you that I am impressed with the clarity and thoroughness of the posts. Really well done and nice to see solid content professionally presented.
ReplyDeleteKeep up the great work:)
That's so kind of you to say. Thank you Lynne!
DeleteI got a little ahead of myself yesterday, and redrafted the pattern with the alterations. I added 2" to the back and about 1.5" to the top because I am long waisted, and I wanted to make sure that i got the desired height and the curve of the top line in the final piece.
ReplyDeleteGood idea, you can always trim the extra length later.
DeleteI like your blog a lot! There is some great info!
ReplyDeleteThank you!
Delete