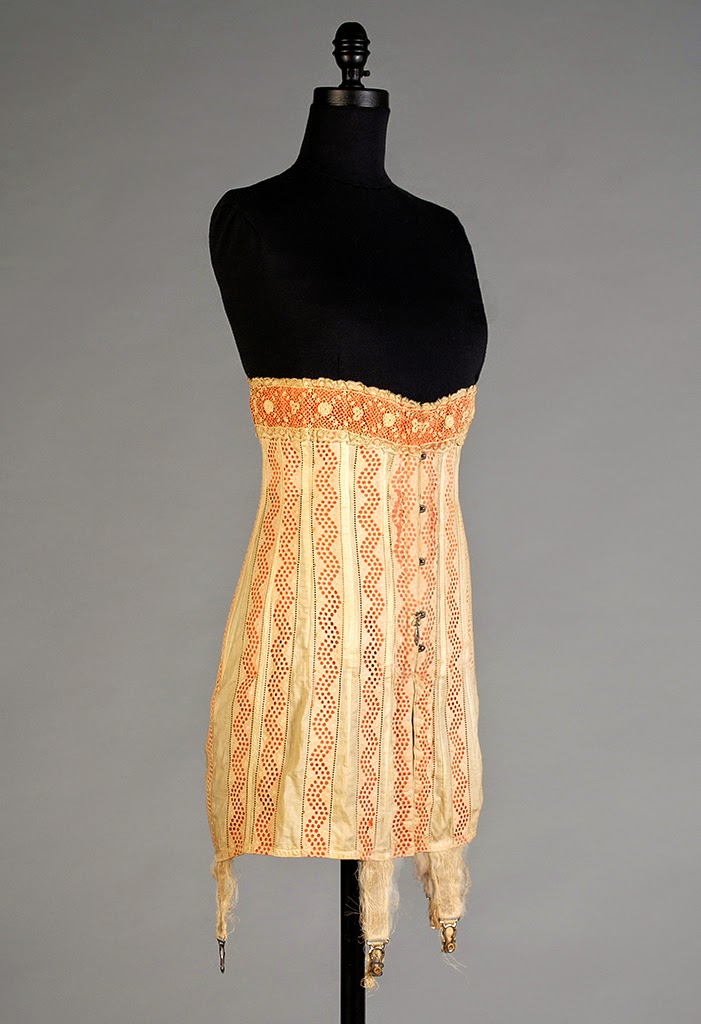
Last week I posted pictures of a beautiful 1914 corset. I mentioned that the orange pattern on the fabric was made by basting ribbon to the cotton eyelet. Here is an image of the interior of the corset.

The silk ribbon is very lightweight and doesn't provide any structure to the corset. It was simply basted in place following the lines of the eyelet. If you look closely you can see it's shattering in places. You can also see a dart used to shape the corset. The bone casings are secured at the waist and at the top and bottom of each casing. At the bottom of the image you can see how the casing sits flush at the waist but otherwise floats separately from the fabric.
There is a 1906 patent for a corset made with thin material finished with swiss embroidery. I've always wondered if it was possible to make a corset with such lightweight fabric, and this corset shows that it is. Corsets made with such delicate materials won't hold up to the rigors of daily wear, but sometimes it's nice just to have pretty underthings, not sturdy underthings.