We've adjusted the pattern to the reduced waistline, now we need to reconnect the broken seam lines and make adjustments for the hips. We'll need our hip curves, tape measures, and pencils today. I mentioned yesterday patterning the hip alteration is optional. And I genuinely mean that. I'm not doing any hip adjustments to the pattern myself, but I will explain for those who wish to boldly go back to the drafting table.
So, reconnecting the broken seam lines. If you are using a hip curve just align it along your split seam line and draw in the new line. If you don't have a hip curve just draw a new line from one endpoint to the other, nice and smoothly.

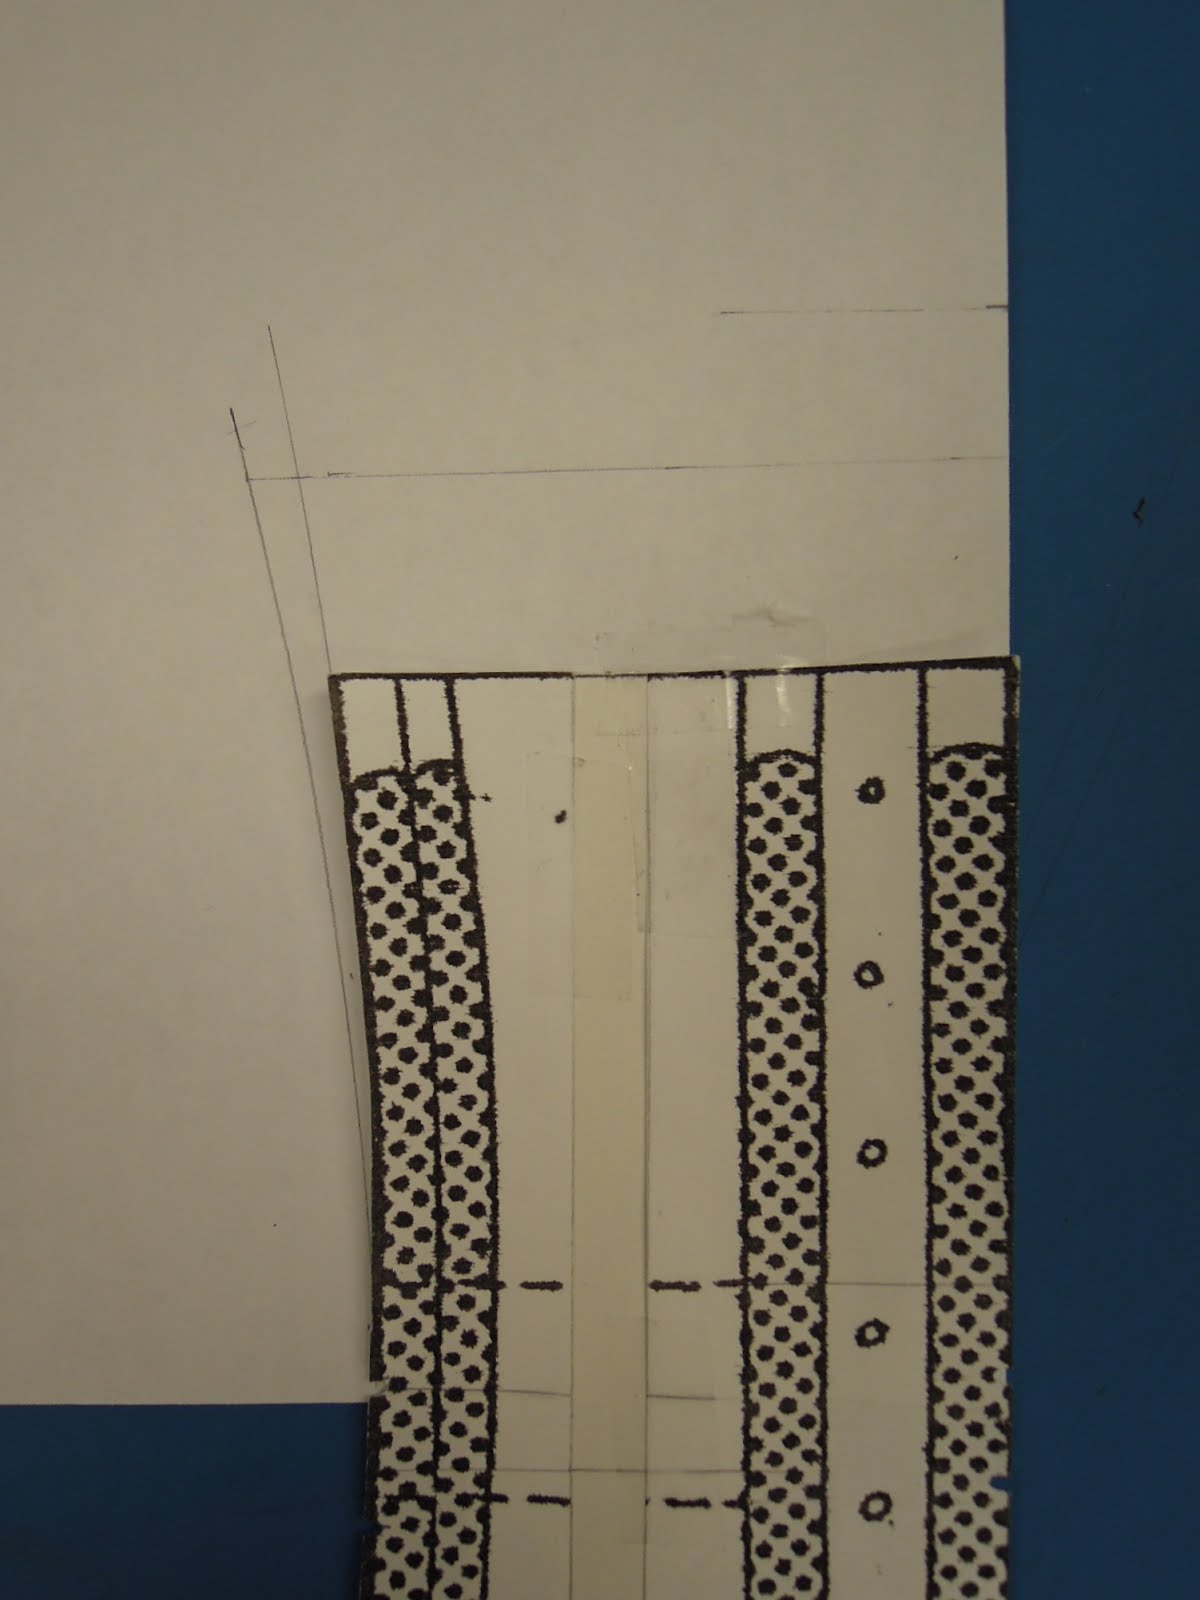
If you have to connect a vertical curved line then blend by lining the hip curve up so it matches the already existing line, then angling it toward a point mid way between the space you're connecting. Like this.

Then do the same coming from the other side so your lines meet.

The goal is a smooth transition.

Next we need to make sure the seam line of one piece is the same length as the corresponding seam line on the next piece. Measure each seam line. Chances are there is a small difference between the two.

If the difference is small, say less than 1/8 of and inch, simply redraft one line to meet the other.

Mark out the incorrect line right away. You don't want to have to remeasure two seam lines because you forgot to cancel out the bad line and later forget which one is correct.

If the difference is say 3/16 or more then balance the difference out by adding a bit to one side and taking a bit from the other. For example one seam line measures 12 7/8 and the other 13 and 1/16. Add say 1/8 to the shorter side and remove 1/16 from the longer. I'll try to look the other way if of some of you decide this is too tedious. But not before saying patterns that work are patterns whose seams have been balanced. Every fraction of an inch adds up as patterns are traced, then cut, then sewn, so what seems at first like an inconsequential difference can have a large impact on the finished piece. There is no need to rush, we've got the time to measure those seams. Let's prevent mysterious wrinkles from appearing later because one piece was longer than the other by truing those seam line now.
Now for the hips. This can get confusing so if you punch out don't worry, just don't make these adjustments. It really will be OK. We'll sew our mock-ups with a one inch seam allowance so there will be plenty of fabric to work with if the hips are too snug. So then, subtract 2 inches from your hip measurements, divide the result in half (because the pattern is for half of the corset) then compare those numbers to the hip lines of the pattern at 6 1/2 inches below the waist and 9 inches below the waist. What is the difference? Suppose there is a 2 inch difference, that means you'll break that 2 inches up and distribute it between the pieces. There no need to add for the hip on the first seam because that crosses the belly, and who wants it larger there? But if you are using the post Edwardian pattern there are 3 seams, or 6 seam lines to add those increments to. That works out to about 5/16 inch per seam line. Mark that distance on the hip lines. You'll need to cut your pattern out and tape the pieces to a new piece of paper because the new lines may start crossing the next pattern piece if you don't.

Line your hip curve up connecting those two new hip points, angling it so it aims toward the waist, and draw a line.

Now draft a line from the waist to the line you just drew.

Your new line should look something like this.

Do that for the rest of the seam lines. Now go back and measure the seam lines and true them up. That's a fair amount of work right? Imagine you do that, sew your mock-up, and when you fit you find it works better if there is more room in some areas and less in others. You still need to pinch fabric or rip seams and pin and mark the adjustments. I have learned the hard way that you can spend a lot of time drafting only to go back and change, or even completely eliminate, your work.
Even though I'm counseling against drafting the hips at this time I feel it's important to know how to change something if you need to. Now you know. Do with this information what you will. I'll just say one more time I am not adjusting the hips on the pattern. I have complete faith in our ability to make adjustments after fitting!