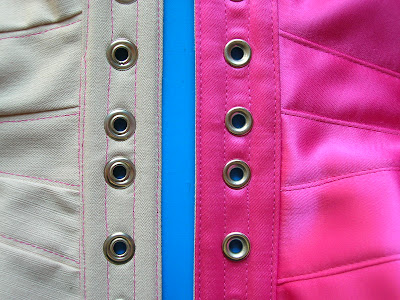
I made inserting this busk a bit more difficult on myself because instead of just finishing the top and bottom edges with bias binding I decided to tuck the nds in on themselves and that adds lots of layers to fiddle with.
The loop side of the busk, here,

is always inserted first, then the stud side. To make sure I assembled the pieces correctly I laid the fabric out the way it would be when finished, coutil face down, coutil face up, satin face up.
Then I brought the bottom piece over, marked off the seam lines, centered the busk between the top and bottom, and marked where the loops be.
I stitched along the drawn seam line stopping where I had marked the space for each loop.

The seam allowance was pressed open.

The the busk panel was folded back into finished position and pressed to give me a nice smooth edge. Then the busk panel was opened up, laid face-to-face on the ribbon panel, and pinned in place matching the notches.

After the pieces were sewn together the seam allowance of the other edge was folded in 1/2 inch and pressed. The seam allowances on the ribbon panel were graded.

The loops of the busk were slipped through the openings, the facing panel was foled over with the foled edge lining up on the seam line, and everything was pinned in place.

The top and bottom edges were clipped and tucked in.

Then I sewed right along the length of the busk securing it in place, flipped everything over, and stitched from the front 1/16 from the seam line. The last thing I did was sew the top and bottom edges closed.

After I finished I thought it would have looked a lot better if I would have finished the top and bottom edges by hand, but, too late. On to the stud side.


